
Text-to-Speech
If you've tried installing OpenClaw locally or on a small cloud server, you've probably run into at least one of these:
- Installation failing midway
- UI not loading in browser
- Build failing midway
- System hanging during setup
- Out of memory errors on smaller instances
This usually happens when OpenClaw is installed on low-RAM environments like t2.micro or t3.micro virtual servers.
So I decided to install and setup OpenClaw on an AWS virtual server — in the simplest possible way — using just one command that handles everything automatically.
After testing multiple instance types, t3.large turned out to be a solid sweet spot.
With:
- 2 vCPU
- 8 GB RAM
…it runs OpenClaw smoothly without any performance issues.
In this tutorial, I'll show you exactly how to install and setup OpenClaw on an Ubuntu virtual server and access its UI in your browser step-by-step.
Step 1 — Launch Virtual Server Instance
Create a new EC2 virtual server instance with the following configuration:
- Instance Type: t3.large
- AMI: Ubuntu Server 22.04
- Storage: 30 GB
Security Group Configuration
Add the following inbound rules:
- SSH → 22
- HTTP → 80 (optional)
- HTTPS → 443 (optional)
Note: OpenClaw runs on port 18789 but we'll access it via SSH tunnel, so no additional ports need to be opened in the security group.
Step 2 — Connect to Virtual Server
ssh -i your-key.pem ubuntu@YOUR_PUBLIC_IPStep 3 — Update the Server
sudo apt update && sudo apt upgrade -yStep 4 — Install OpenClaw
OpenClaw provides a simple one-line installation script that handles everything automatically.
Installation Commands by Platform
For Mac/Linux (including Ubuntu):
curl -fsSL https://openclaw.ai/install.sh | bashFor Windows (PowerShell):
iwr -useb https://openclaw.ai/install.ps1 | iex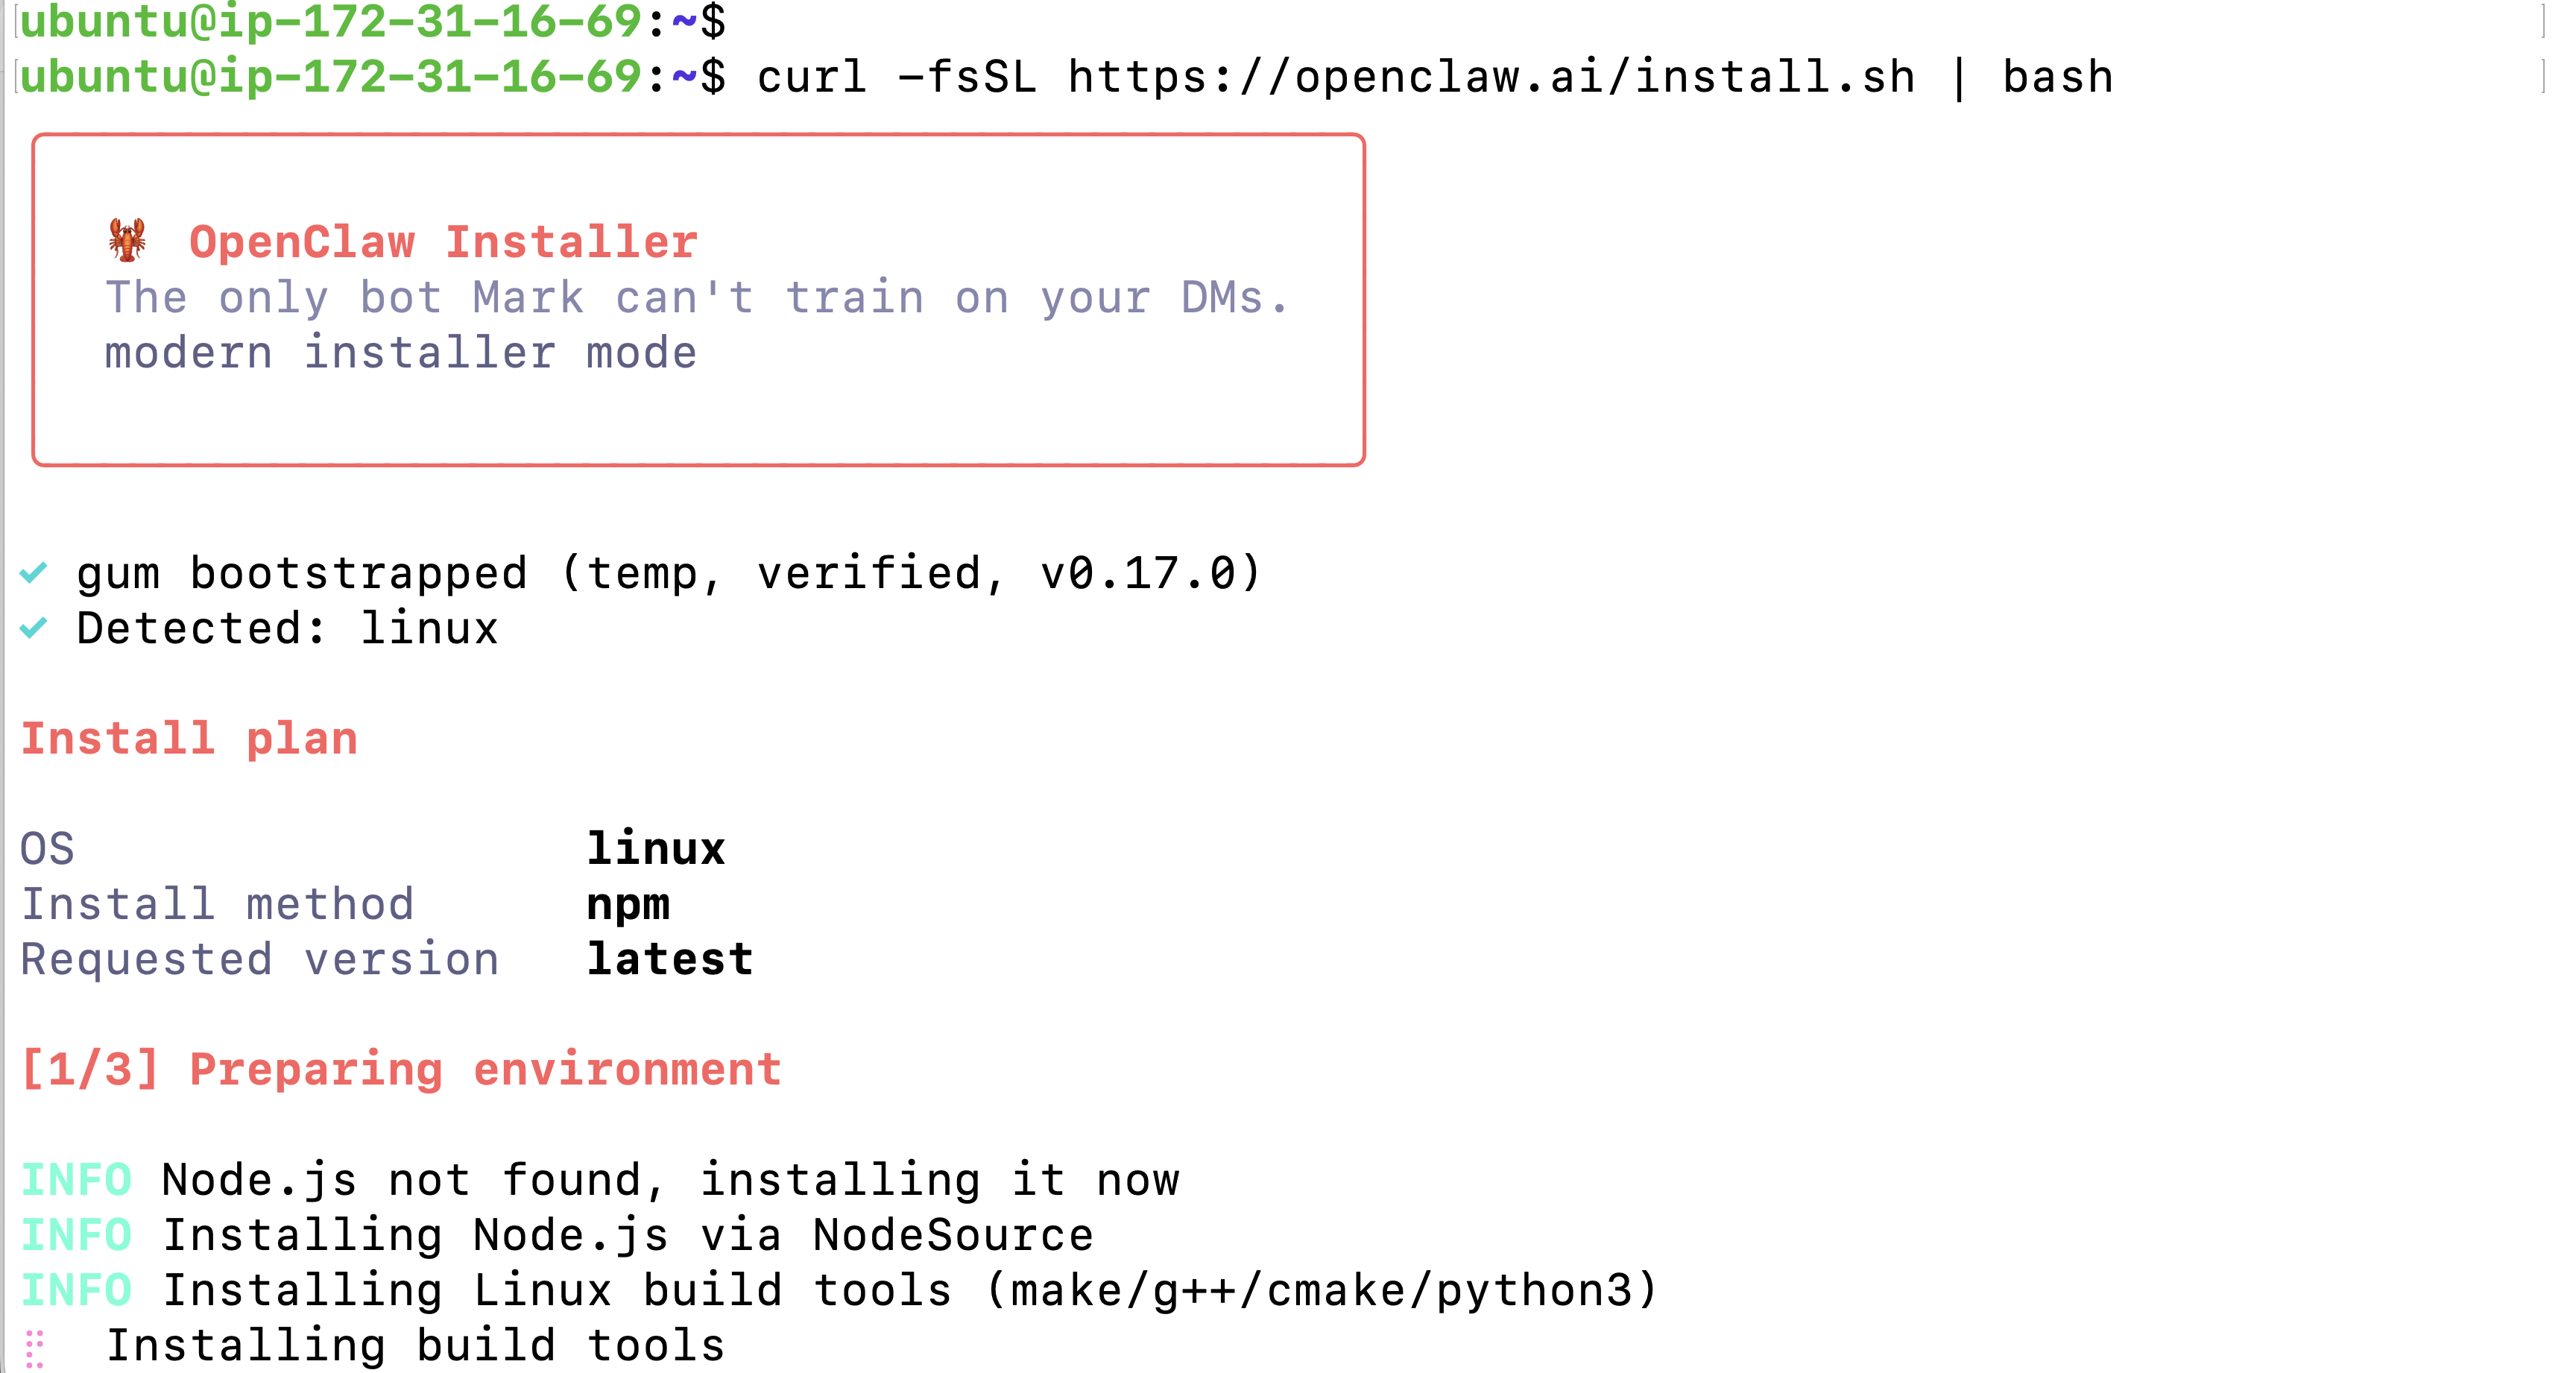
This script will:
- Detect your operating system and install compatible versions
- Install Node.js and npm if not already present
- Install OpenClaw (Clawdbot) globally
- Set up all required configurations
Wait for the installation to complete. This may take a few minutes depending on your server's internet speed.
Installation Troubleshooting
If the installation fails with an error like:
WARN npm install openclaw@latest failed; retrying openclaw@nextThis usually happens when the installer encounters issues with the interactive UI component (gum). You can bypass this by using the --no-gum flag:
curl -fsSL https://openclaw.ai/install.sh | bash -s -- --no-gumThis will run the installer without the fancy UI and should complete successfully.
Step 5 — Configure OpenClaw
After installation, you need to configure OpenClaw with your API keys and preferences.
Run the configuration command:
openclaw configureThis will open an interactive configuration wizard where you can:
- Add your Anthropic API key for Claude
- Configure other AI model providers
- Set up your preferences
Step 6 — Start the OpenClaw Gateway
Start the OpenClaw gateway service on port 18789:
openclaw gateway --port 18789Or to bind to localhost only (recommended for security):
openclaw gateway --bind loopback --port 18789 --verboseThe gateway will start and display connection information including an access token.
Useful Gateway Commands
Check gateway status:
openclaw gateway statusRestart the gateway:
openclaw gateway restartOpen the dashboard:
openclaw dashboardStep 7 — Access OpenClaw via SSH Tunnel
Since the gateway binds to localhost for security, you'll need to create an SSH tunnel from your local machine to access it.
Setting Up SSH Tunnel
First, check if port 18789 is already in use on your local machine:
lsof -i :18789If something is using that port, kill it:
kill -9 [PID]Now create the SSH tunnel from your local machine:
ssh -i your-key.pem -N -L 18789:127.0.0.1:18789 ubuntu@YOUR_PUBLIC_IPThis command:
-i your-key.pem— Your SSH private key-N— Don't execute remote commands (just forward ports)-L 18789:127.0.0.1:18789— Forward local port 18789 to remote port 18789
Keep this terminal window open. The tunnel needs to stay active.
Access the OpenClaw UI
Open your browser and navigate to:
http://localhost:18789/#token=YOUR_ACCESS_TOKENReplace YOUR_ACCESS_TOKEN with the token displayed when you started the gateway.
Example:
http://localhost:18789/#token=a76c6521e03008de0b7290eb67bd9deed59bde02b109ad7dStep 8 — Make OpenClaw Run Automatically (Recommended)
By default, OpenClaw stops when you close the terminal. To make it run 24/7 and restart automatically after server reboots, we'll set up a systemd service.
Why We Need the Full Binary Path
Before creating the service, you need to find where OpenClaw is installed. Systemd requires an absolute path in ExecStart, not just the command name.
In your terminal, typing openclaw works because your shell uses your PATH to locate the binary. But systemd doesn't search your interactive shell's PATH the same way, so it needs the full path like /home/ubuntu/.npm-global/bin/openclaw.
Find the OpenClaw Binary Path
Run this command to find where OpenClaw is installed:
which openclawTypical output:
/home/ubuntu/.npm-global/bin/openclawCopy this path — you'll use it in the service file.
Create the Systemd Service File
Step 1: Create the service file:
sudo nano /etc/systemd/system/openclaw-gateway.serviceStep 2: Paste this configuration (replace the path with your actual path from the which command):
[Unit]
Description=OpenClaw Gateway (always-on)
After=network-online.target
Wants=network-online.target

[Service]
User=ubuntu
WorkingDirectory=/home/ubuntu
Environment=PATH=/home/ubuntu/.npm-global/bin:/usr/local/sbin:/usr/local/bin:/usr/sbin:/usr/bin:/sbin:/bin
ExecStart=/home/ubuntu/.npm-global/bin/openclaw gateway --bind loopback --port 18789 --verbose
Restart=always
RestartSec=5

[Install]
WantedBy=multi-user.target
Important: Make sure to replace/home/ubuntu/.npm-global/bin/openclawwith the actual path from yourwhich openclawcommand output.
Step 3: Save and exit:
- Press
Ctrl + X - Press
Yto confirm - Press
Enter
Enable and Start the Service
Step 4: Reload systemd to recognize the new service:
sudo systemctl daemon-reloadStep 5: Enable the service to start on boot:
sudo systemctl enable openclaw-gateway.serviceStep 6: Start the service now:
sudo systemctl start openclaw-gateway.serviceStep 7: Check if it's running:
sudo systemctl status openclaw-gateway.serviceYou should see "active (running)" in green text.
Now OpenClaw will:
- Start automatically when the server boots
- Restart automatically if it crashes
- Run continuously in the background
Troubleshooting Commands
If something goes wrong, these commands can help diagnose and fix issues.
Quick Tip: Every server setup is different. If you get stuck and this guide isn't solving your problem, try using Perplexity or ChatGPT to research the specific error. It's a great way to understand what commands you need and why.
Diagnostic Commands
Run the doctor tool to diagnose issues:
openclaw doctorAutomatically repair detected issues:
openclaw doctor --repairService Management Commands
Restart the gateway service:
sudo systemctl restart openclaw-gateway.serviceStop the gateway service:
sudo systemctl stop openclaw-gateway.serviceView live logs to see what's happening:
sudo journalctl -u openclaw-gateway.service -fPress Ctrl + C to stop viewing logs.
Port Management
Check what's using port 18789:
lsof -i :18789Kill a process on that port (replace PID with actual process ID):
kill -9 [PID]Example:
kill -9 50490Common Issues & Solutions
Problem: Installation fails with "npm install openclaw@latest failed; retrying openclaw@next"
- This warning appears when the installer has trouble with the interactive UI component (gum)
- Use the fallback installation command that skips the gum dependency:
curl -fsSL https://openclaw.ai/install.sh | bash -s -- --no-gumThe --no-gum flag disables the fancy interactive UI and uses plain text output instead, which resolves most installation issues.
Problem: Can't connect to OpenClaw UI
- Verify the SSH tunnel is active and running
- Check that the gateway service is running with
sudo systemctl status openclaw-gateway.service - Ensure you're using the correct access token in the URL
Problem: Service won't start
- Check logs:
sudo journalctl -u openclaw-gateway.service -n 50 - Verify the binary path in the service file matches your
which openclawoutput - Ensure OpenClaw is properly configured with
openclaw configure
Problem: Installation failed or incomplete
- Run
openclaw doctor --repairto fix common issues - Check if Node.js and npm are properly installed
- Try reinstalling with the installation script
Step 9 — (Optional) Use Domain with SSL
To make your installation production-ready and accessible without SSH tunneling:
- Point your domain (via Cloudflare or any DNS provider) to your virtual server's Public IP
- Setup Nginx reverse proxy to forward requests to port 18789
- Install SSL certificate using Certbot (Let's Encrypt)
This allows you to access OpenClaw securely using:
https://openclaw.yourdomain.cominstead of using SSH tunneling to localhost.
Quick Nginx Setup
Install Nginx:
sudo apt install nginx -yCreate Nginx configuration:
sudo nano /etc/nginx/sites-available/openclawAdd this configuration (replace yourdomain.com with your actual domain):
server {
    listen 80;
    server_name openclaw.yourdomain.com;

    location / {
        proxy_pass http://127.0.0.1:18789;
        proxy_http_version 1.1;
        proxy_set_header Upgrade $http_upgrade;
        proxy_set_header Connection 'upgrade';
        proxy_set_header Host $host;
        proxy_cache_bypass $http_upgrade;
    }
}
Enable the site and restart Nginx:
sudo ln -s /etc/nginx/sites-available/openclaw /etc/nginx/sites-enabled/
sudo nginx -t
sudo systemctl restart nginx
Install SSL with Certbot:
sudo apt install certbot python3-certbot-nginx -y
sudo certbot --nginx -d openclaw.yourdomain.com
Why Use the Official Installer?
The OpenClaw installer script handles everything automatically:
- Detects your operating system and installs compatible versions
- Sets up all required dependencies and configurations
- Eliminates manual setup errors and version conflicts
- Gets you up and running in minutes instead of hours
Conclusion
You now have a complete OpenClaw installation running on your AWS EC2 Ubuntu server with:
- One-command installation using the official installer
- Systemd service for automatic startup and crash recovery
- Secure SSH tunnel access to the OpenClaw UI
- Comprehensive troubleshooting commands
Next Steps
- Configure your AI models and API keys
- Set up a custom domain with SSL for production use
- Explore OpenClaw's features and capabilities
Cost Optimization Tips
If you're just testing OpenClaw and want to reduce costs:
- Try t3.medium (4GB RAM) with swap memory enabled
- Stop the instance when not in use
- Use AWS Reserved Instances for long-term usage
For stable, production-ready performance, t3.large (8GB RAM) remains the recommended option.
Happy coding! 🚀
Comments
No comments yet. Be the first to comment!